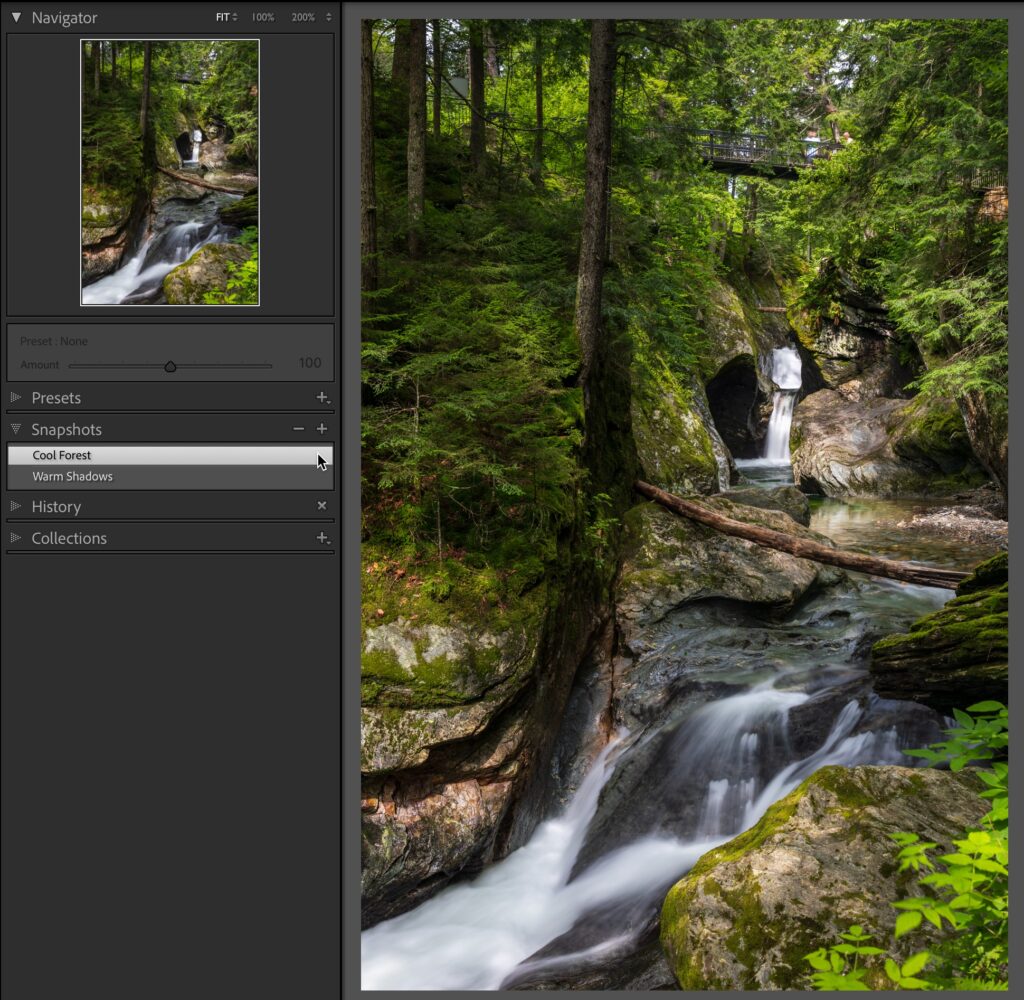
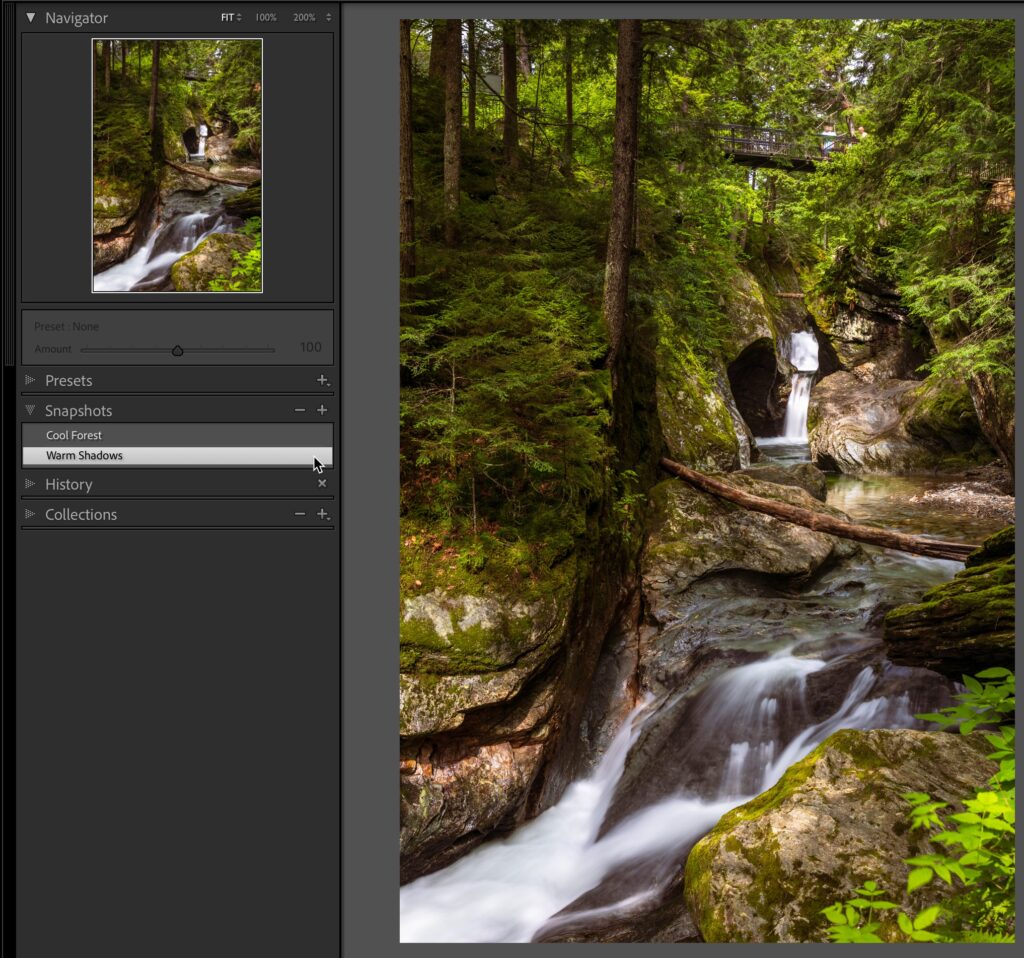
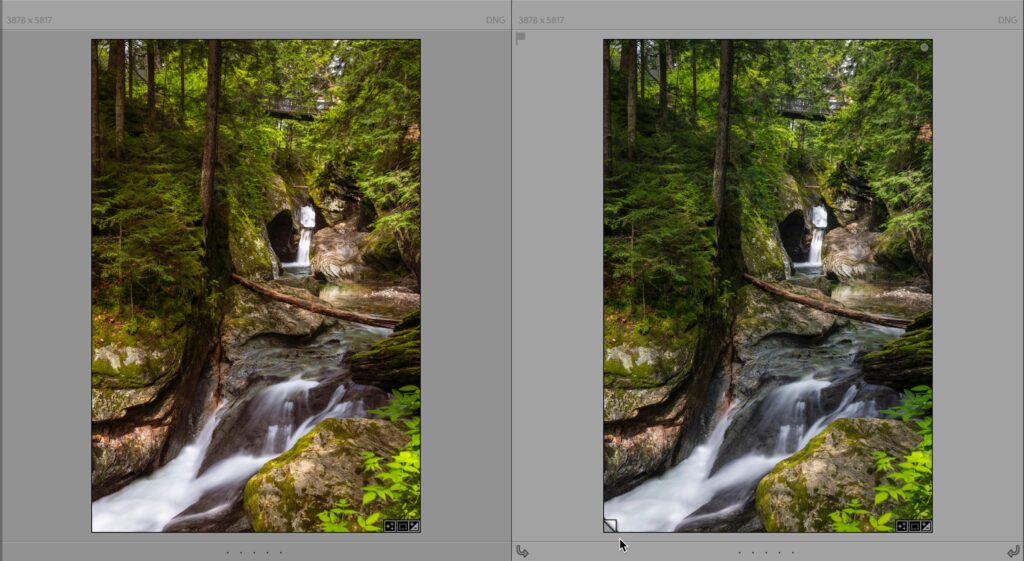
I recently wrote about how to save your virtual copies as snapshots. This provides both a way to access edits across all virtual copies (and original) as well as a way to have those snapshots written to a photo’s XMP metadata if you choose.
In the comments on that post, Patrick posted: “However, your tip made me think of how it would perhaps be useful and easy if we could do the reverse also: Create a virtual copy from within the Snapshots panel upon editing the original photo. Any chance of you asking/proposing this to the developers team?“
Well, Patrick, you can kind of do that already. Here’s how:
Step One: Edit a photo as you wish, then create a snapshot from the Snapshots panel. Let’s assume you want to explore different variations on looks, so you create a snapshot for each look.

Step Two: Press CMD+’ (PC: Ctrl+’) to create a virtual copy (or go to the Photo > Create Virtual Copy menu). You’ll now be viewing the virtual copy, which at this point looks the same as the original.
Step Three: Select the desired snapshot to represent the look of this virtual copy, and all the settings will change to reflect the settings in the snapshot you click.

Step Four: Select the original in the Filmstrip and either continue editing or reset it to defaults or choose a different snapshot to represent its look.

You can easily add as many snapshots as you wish, and since all snapshots are shared among all virtual copies, simply create a new virtual copy anytime you want to see a snapshot represented as a separate photo. This may be for comparison against the different versions or perhaps to export different versions as copies or maybe to share as a web gallery.
Should you no longer need to see the individual virtual copies you can always delete them as you have their settings preserved in snapshots and can easily bring them back again. Hope that helps!
The post Making Virtual Copies from Snapshots appeared first on Lightroom Killer Tips.
Continue reading...
In the comments on that post, Patrick posted: “However, your tip made me think of how it would perhaps be useful and easy if we could do the reverse also: Create a virtual copy from within the Snapshots panel upon editing the original photo. Any chance of you asking/proposing this to the developers team?“
Well, Patrick, you can kind of do that already. Here’s how:
Step One: Edit a photo as you wish, then create a snapshot from the Snapshots panel. Let’s assume you want to explore different variations on looks, so you create a snapshot for each look.

Step Two: Press CMD+’ (PC: Ctrl+’) to create a virtual copy (or go to the Photo > Create Virtual Copy menu). You’ll now be viewing the virtual copy, which at this point looks the same as the original.
Step Three: Select the desired snapshot to represent the look of this virtual copy, and all the settings will change to reflect the settings in the snapshot you click.

Step Four: Select the original in the Filmstrip and either continue editing or reset it to defaults or choose a different snapshot to represent its look.

You can easily add as many snapshots as you wish, and since all snapshots are shared among all virtual copies, simply create a new virtual copy anytime you want to see a snapshot represented as a separate photo. This may be for comparison against the different versions or perhaps to export different versions as copies or maybe to share as a web gallery.
Should you no longer need to see the individual virtual copies you can always delete them as you have their settings preserved in snapshots and can easily bring them back again. Hope that helps!
The post Making Virtual Copies from Snapshots appeared first on Lightroom Killer Tips.
Continue reading...


